Ho he aconseguit i estic meravellat de la potència d'una xicoteta computadora com és la Raspberry Pi 4 pot servir pàgines Drupal 10 amb la última versió de FreeBSD, la 13.2. Ací t'ho conte tot.
Recentment vaig crear l'article
Insta·lant Drupal 10 a la Raspberry Pi 4 amb Raspbian, Nginx, PHP i MariaDB on vaig muntar Drupal 10 a la Raspberry amb el sistema operatiu Raspbian. I ara, pujem de nivell, i he muntat el mateix entorn però ara amb la última versió de FreeBSD en la Raspberry Pi 4, la versió 13.2. En dos paraules: im pressionant!
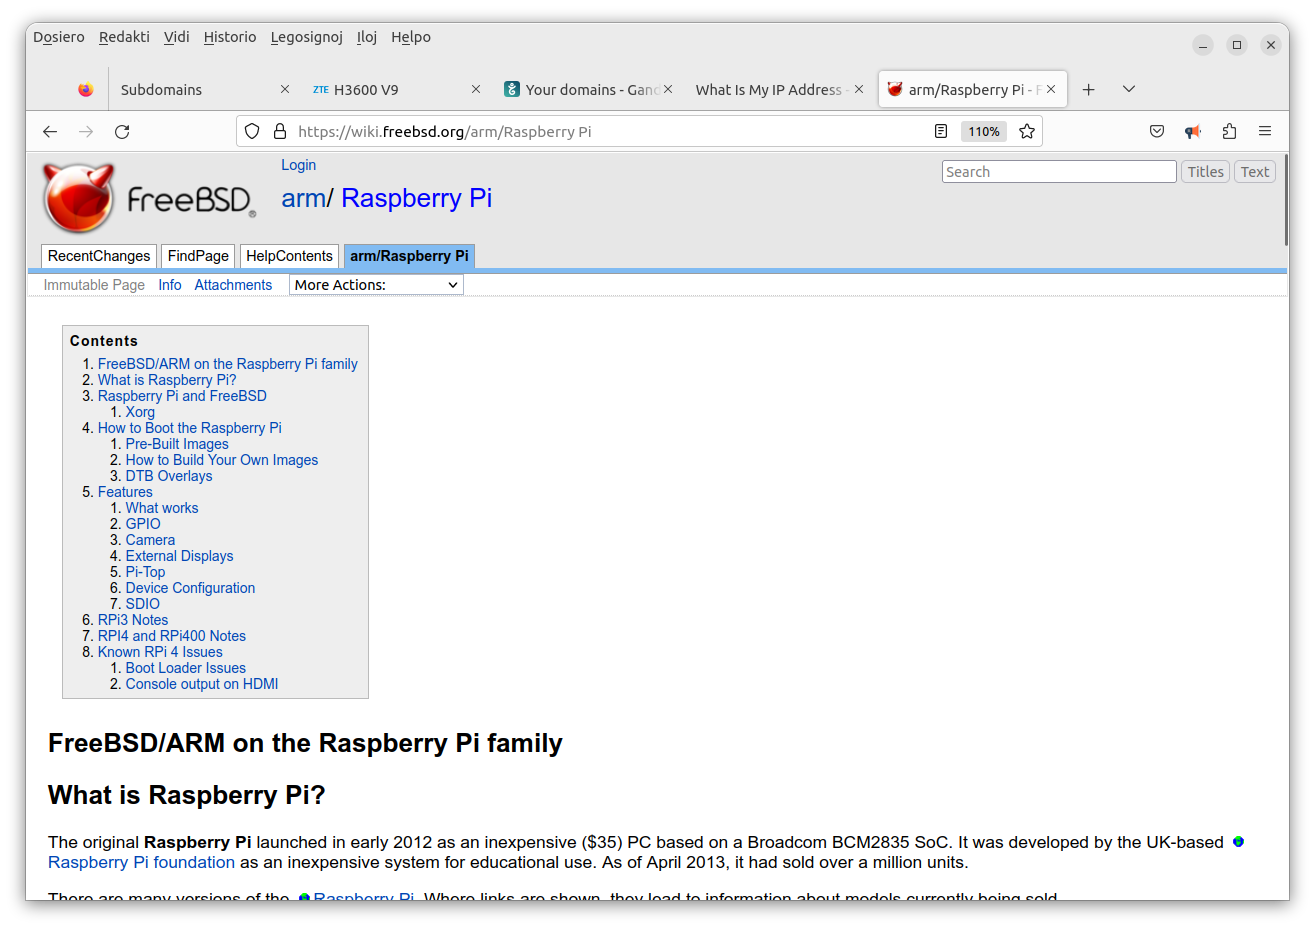
Descarregarem una imatge de FreeBSD per a cremar la tarjeta MicroSD des de https://wiki.freebsd.org/arm/Raspberry%20Pi:
I descarreguem FreeBSD-13.2-RELEASE-arm64-aarch64-RPI.img.xz de la url https://download.freebsd.org/ftp/releases/arm64/aarch64/ISO-IMAGES/13.2/
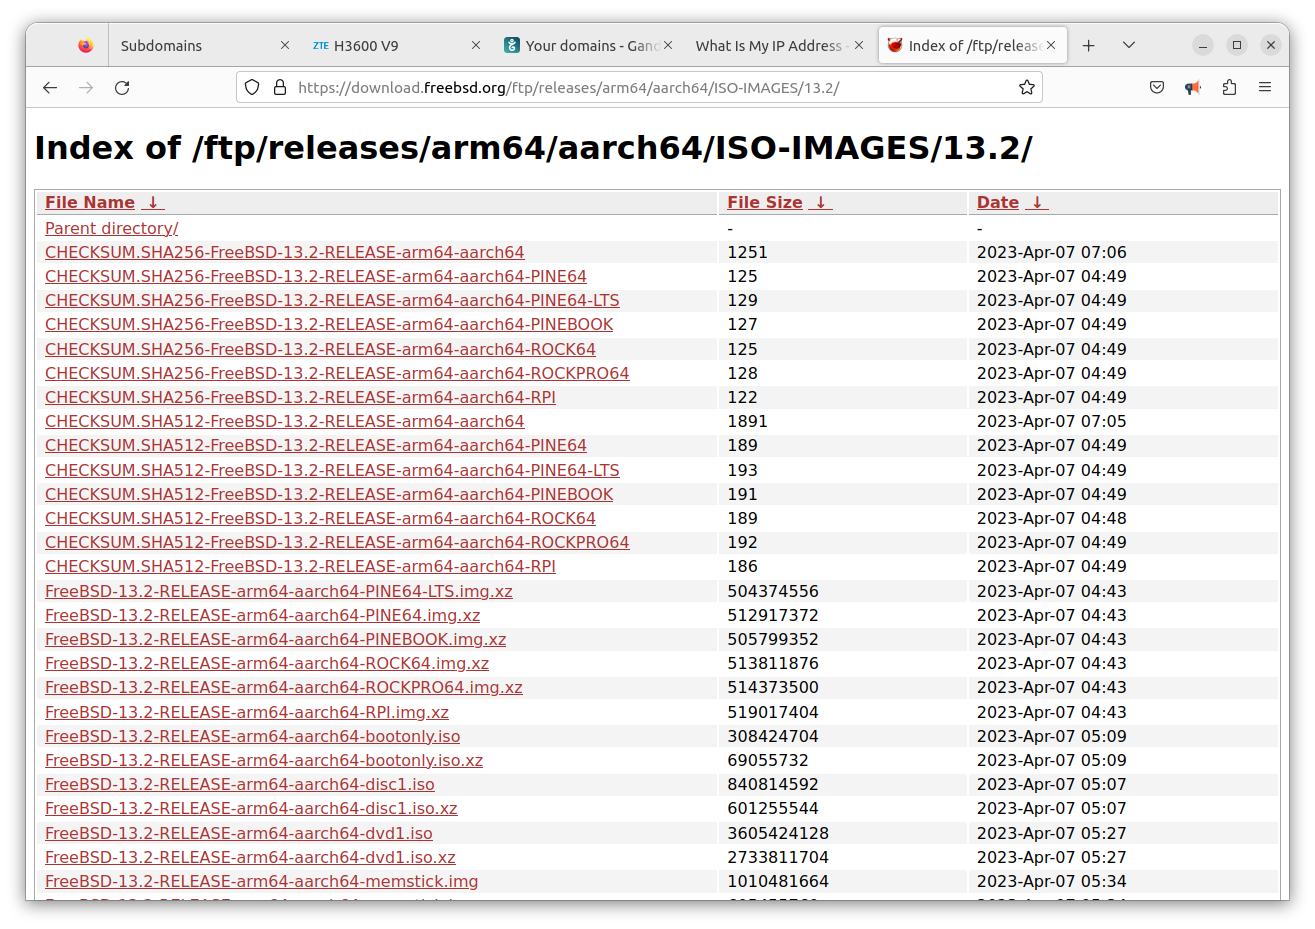
O si ho prefereixes, simplement des de la terminal amb:
wget https://download.freebsd.org/ftp/releases/arm64/aarch64/ISO-IMAGES/13.2/FreeBSD-13.2-RELEASE-arm64-aarch64-RPI.img.xz
Descomprimiremm la imatge:
sudo apt-get install xz-utils
xz -d FreeBSD-13.2-RELEASE-arm64-aarch64-RPI.img.xz
A continuació introduïm la tarjeta MicroSD al meu portàtil on tinc Ubuntu i dmesg ens detecta el següent:
[271506.146906] sd 3:0:0:0: Attached scsi generic sg1 type 0
[271506.505699] sd 3:0:0:0: [sdb] 124735488 512-byte logical blocks: (63.9 GB/59.5 GiB)
[271506.506227] sd 3:0:0:0: [sdb] Write Protect is off
[271506.506231] sd 3:0:0:0: [sdb] Mode Sense: 23 00 00 00
[271506.506765] sd 3:0:0:0: [sdb] Write cache: disabled, read cache: enabled, doesn't support DPO or FUA
[271506.509885]  sdb: sdb1 sdb2
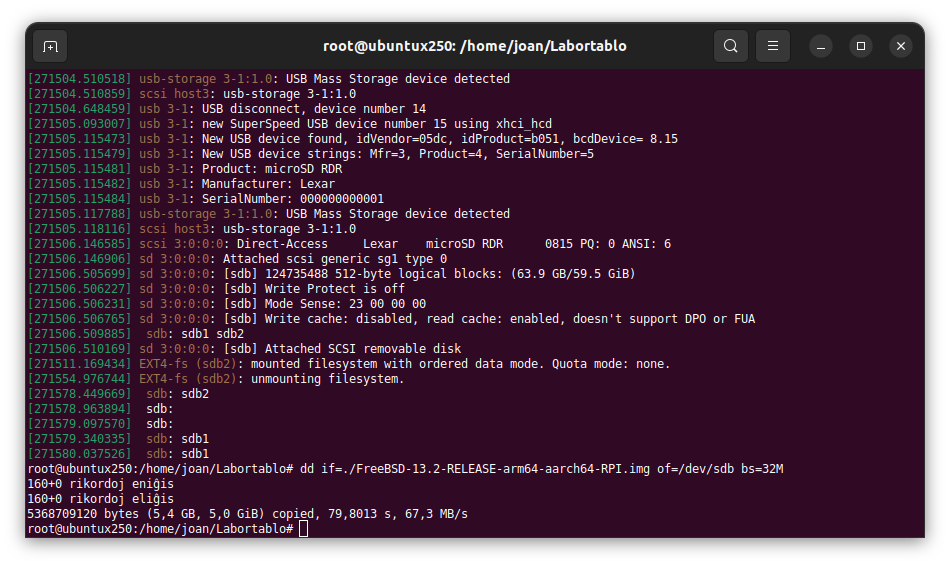
I ara cremem la imatge de FreeBSD 13.2 a la MicroSD amb:
# dd if=./FreeBSD-13.2-RELEASE-arm64-aarch64-RPI.img of=/dev/sdb bs=32M
160+0 rikordoj eniĝis
160+0 rikordoj eliĝis
5368709120 bytes (5,4 GB, 5,0 GiB) copied, 79,8013 s, 67,3 MB/s
Ja ho tenim. Arrancarem la Raspberry Pi 4 amb el cable HDMI, perquè la primera vegada m'agrada veure tot el que va mostrant el sistema operatiu, no siga que tinguem algun problemeta. També per a veure els missatges de que FreeBSD redimensiona les particions a la capacitat de la MicroSD en el primer arranc, i veure un poc si puc accedir sense problemes, comprovar el nom dels dispositius, etc.
En el meu cas, tinc un cable RJ45 de la Raspberry Pi 4 fins al router, i com que tinc el servei DHCP ja tinc IP automàticament. Ja podem tancar la Raspberry Pi 4 i col·locar-la on vullguem perquè ja podem treballar remotament des de SSH.
Accedisc remotament a la Raspberry Pi 4 i instal·laré algunes utilitats:
pkg install htop wget screen emacs tmux
Per últim, com que aquesta Raspberry Pi 4 serà un servidor web estable, vull que tinga una IP fixa per a fer NAT des del router i tenir-ho tot estable 24x7, aleshores cal configurar a FreeBSD que la IP siga sempre la mateixa. Editarem /etc/rc.conf i afegirem (* XXX és la teua IP):
ifconfig_DEFAULT="inet 192.168.1.XXX netmask 255.255.255.0"
defaultrouter="192.168.1.1"
INSTAL·LACIÓ I CONFIGURACIÓ DEL SERVIDOR WEB NGINX
Instal·lem el servidor web Nginx amb:
pkg install nginx
Marcarem l'arranc automàtic quan iniciem la Raspberry Pi 4 afegint a /etc/rc.conf el següent:
echo 'nginx_enable="YES"' >> /etc/rc.conf
I arranquem, aturem o reiniciem el servei sempre que ho necessitem amb:
service nginx start|stop|restart
Ara anem a instal·lar PHP 8.2 i totes les extensions de PHP 8.2 següents necessàries per al funcionament de Drupal 10 les quals s'instal·laran automàticament a la ruta /usr/local/etc/php/:
pkg install php82 php82-curl php82-gd php82-opcache php82-pdo_mysql php82-xml php82-zip php82-tokenizer php82-dom php82-filter php82-session php82-simplexml php82-mbstring
Marcarem l'arranc automàtic de PHP 8.2 quan iniciem la Raspberry Pi 4 afegint a /etc/rc.conf el següent:
php_fpm_enable="YES";
I arrancarem, atorarem o reiniciarem PHP 8.2 sempre que vullguem amb:
# service php-fpm start
Performing sanity check on php-fpm configuration:
[07-Apr-2023 06:21:25] NOTICE: configuration file /usr/local/etc/php-fpm.conf test is successful

Starting php_fpm.
Ara, per tal de que PHP 8.2 s'execute correctament a les pàgines amb extensió .php editarem el fitxer /usr/local/etc/php-fpm.d/www .conf i buscarem la línia on diu:
listen = 127.0.0.1:9000
i ho reemplaçarem per:
listen = /var/run/php82-fpm.sock
Descomentem les 3 línies:
listen.owner = www
listen.group = www
listen.mode = 0660
Finalment desarem el fitxer i reiniciarem el servei php-fpm amb:
# service php-fpm restart
Performing sanity check on php-fpm configuration:
[07-Apr-2023 06:28:42] NOTICE: configuration file /usr/local/etc/php-fpm.conf test is successful
#
Stopping php_fpm.
Waiting for PIDS: 1540.
Performing sanity check on php-fpm configuration:
[07-Apr-2023 06:28:42] NOTICE: configuration file /usr/local/etc/php-fpm.conf test is successful
#
Starting php_fpm.
Configurarem el php.ini, mourem el fitxer /usr/local/etc/php.ini-production per /usr/local/etc/php.ini i reiniciarem php-fpm:
# mv /usr/local/etc/php.ini-production /usr/local/etc/php.ini
# service php-fpm restart
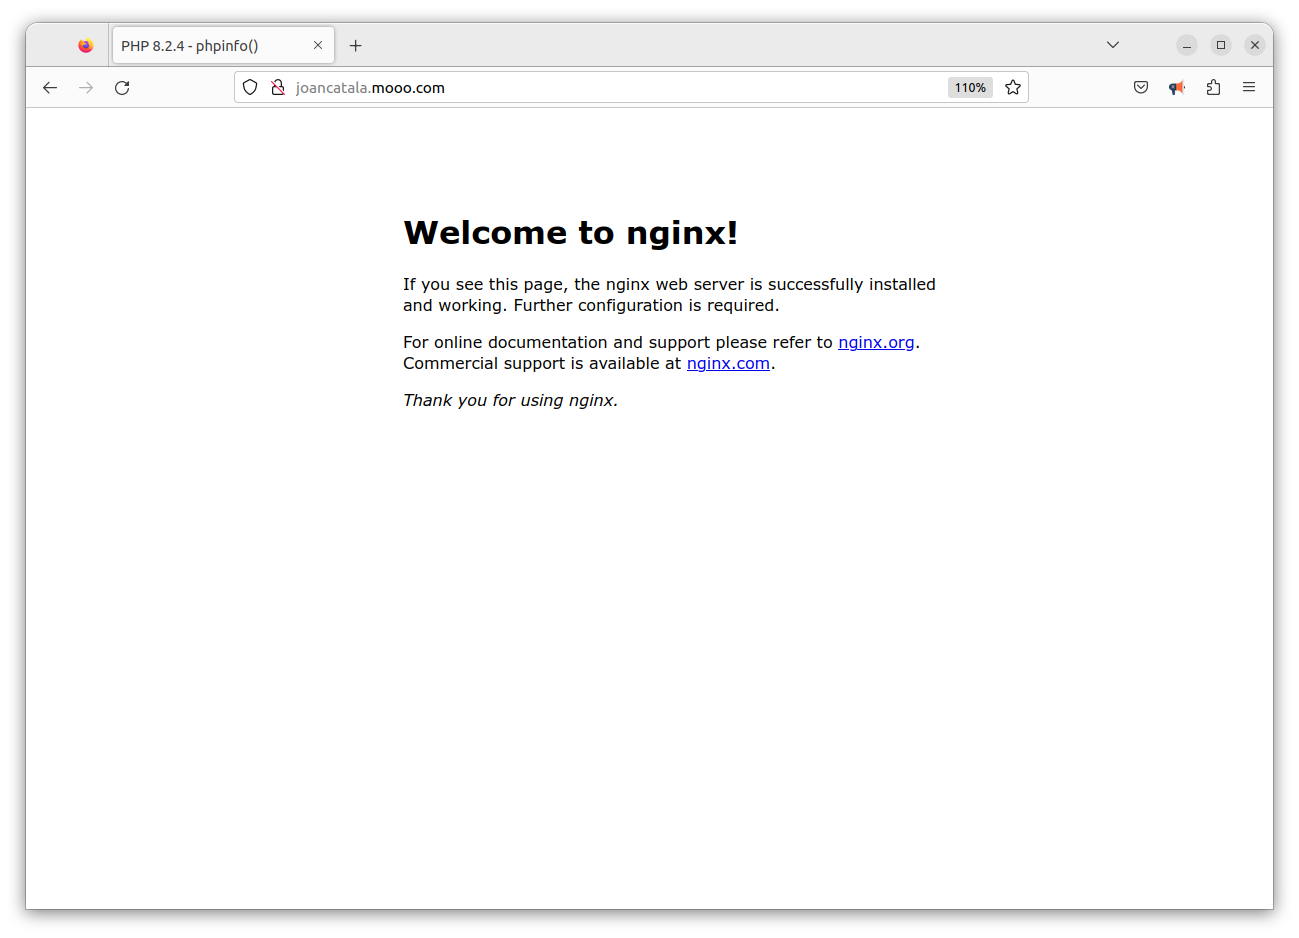
Ara ficarem una pàgina index.php a l'arrel d'Nginx i afegirem el codi per a veure si ja tenim el PHP funcionant i les variables:

El meu fitxer nginx.conf és el següent:
    #
    #server {
    #    listen       8000;
    #    listen       somename:8080;
    #    server_name  somename  alias  another.alias;
    #
    #    location / {
    #        root   html;
    #        index  index.html index.htm;
    #    }
    #}
    #
    # HTTPS server
    #
    #server {
    #    listen       443 ssl;
    #    server_name  localhost;
    #
    #    ssl_certificate      cert.pem;
    #    ssl_certificate_key  cert.key;
    #
    #    ssl_session_cache    shared:SSL:1m;
    #    ssl_session_timeout  5m;
    #
    #    ssl_ciphers  HIGH:!aNULL:!MD5;
    #    ssl_prefer_server_ciphers  on;
    #
    #    location / {
    #        root   html;
    #        index  index.html index.htm;
    #    }
    #}
}
I el meu fitxer /usr/local/etc/nginx/sites-enabled/joancatala.net.conf (modificat del fitxer publicat a la web d'Nginx) és:
server {
    server_name joancatala.net;
    root /usr/local/var/www/joancatala.net; ## -- Your only path reference.
#
    location = /favicon.ico {
        log_not_found off;
        access_log off;
    }
#
    location = /robots.txt {
        allow all;
        log_not_found off;
        access_log off;
    }
#
    # Very rarely should these ever be accessed outside of your lan
    location ~* \.(txt|log)$ {
        allow 192.168.0.0/16;
        deny all;
    }
#
    location ~ \..*/.*\.php$ {
        return 403;
    }
#
    location ~ ^/sites/.*/private/ {
        return 403;
    }
#
    # Block access to scripts in site files directory
    location ~ ^/sites/[^/]+/files/.*\.php$ {
        deny all;
    }
#
    # Allow "Well-Known URIs" as per RFC 5785
    location ~* ^/.well-known/ {
        allow all;
    }
#
    # Block access to "hidden" files and directories whose names begin with a
    # period. This includes directories used by version control systems such
    # as Subversion or Git to store control files.
    location ~ (^|/)\. {
        return 403;
    }
#
    location / {
        # try_files $uri @rewrite; # For Drupal = 6
        try_files $uri /index.php?$query_string; # For Drupal >= 7
    }
#
    location @rewrite {
        #rewrite ^/(.*)$ /index.php?q=$1; # For Drupal = 6
        rewrite ^ /index.php; # For Drupal >= 7
    }
#
    # Don't allow direct access to PHP files in the vendor directory.
    location ~ /vendor/.*\.php$ {
        deny all;
        return 404;
    }
#
    # Protect files and directories from prying eyes.
    location ~* \.(engine|inc|install|make|module|profile|po|sh|.*sql|theme|twig|tpl(\.php)?|xtmpl|yml)(~|\.sw[op]|\.bak|\.orig|\.save)?$|^(\.(?!well-known).*|Entries.*|Repository|Root|Tag|Template|composer\.(json|lock)|web\.config)$|^#.*#$|\.php(~|\.sw[op]|\.bak|\.orig|\.save)$ {
        deny all;
        return 404;
    }
#
    # In Drupal 8, we must also match new paths where the '.php' appears in
    # the middle, such as update.php/selection. The rule we use is strict,
    # and only allows this pattern with the update.php front controller.
    # This allows legacy path aliases in the form of
    # blog/index.php/legacy-path to continue to route to Drupal nodes. If
    # you do not have any paths like that, then you might prefer to use a
    # laxer rule, such as:
    #   location ~ \.php(/|$) {
    # The laxer rule will continue to work if Drupal uses this new URL
    # pattern with front controllers other than update.php in a future
    # release.
    location ~ '\.php$|^/update.php' {
        fastcgi_split_path_info ^(.+?\.php)(|/.*)$;
        # Ensure the php file exists. Mitigates CVE-2019-11043
        try_files $fastcgi_script_name =404;
        # Security note: If you're running a version of PHP older than the
        # latest 5.3, you should have "cgi.fix_pathinfo = 0;" in php.ini.
        # See http://serverfault.com/q/627903/94922 for details.
        include fastcgi_params;
        # Block httpoxy attacks. See https://httpoxy.org/.
        fastcgi_param HTTP_PROXY "";
        fastcgi_param SCRIPT_FILENAME $document_root$fastcgi_script_name;
        fastcgi_param PATH_INFO $fastcgi_path_info;
        fastcgi_param QUERY_STRING $query_string;
        fastcgi_intercept_errors on;
        # PHP 5 socket location.
        #fastcgi_pass unix:/var/run/php5-fpm.sock;
        # PHP 8.2 socket location.
        fastcgi_pass unix:/var/run/php/php82-fpm.sock;
    }
#
    location ~* \.(js|css|png|jpg|jpeg|gif|ico|svg)$ {
        try_files $uri @rewrite;
        expires max;
        log_not_found off;
    }
#
    # Fighting with Styles? This little gem is amazing.
    # location ~ ^/sites/.*/files/imagecache/ { # For Drupal = 6
    location ~ ^/sites/.*/files/styles/ { # For Drupal >= 7
        try_files $uri @rewrite;
    }
#
    # Handle private files through Drupal. Private file's path can come
    # with a language prefix.
    location ~ ^(/[a-z\-]+)?/system/files/ { # For Drupal >= 7
        try_files $uri /index.php?$query_string;
    }
#
    # Enforce clean URLs
    # Removes index.php from urls like www.example.com/index.php/my-page --> www.example.com/my-page
    # Could be done with 301 for permanent or other redirect codes.
    if ($request_uri ~* "^(.*/)index\.php/(.*)") {
        return 307 $1$2;
    }
}
I podrem crear tots els llocs web (VirtualHosts en la terminologia del Apache Web Server) que vullguem.
INSTAL·LACIÓ I CONFIGURACIÓ DEL SERVIDOR DE BASES DE DADES
Instal·larem la última versió del servidor MariaDB amb: I ara instal·lem el servidor de bases de dades
pkg install mariadb106-server mariadb106-client
Marcarem l'arranc automàtic de MariaDB quan iniciem la Raspberry Pi 4 afegint a /etc/rc.conf el següent:
mysql_enable="YES"
Iniciem el servei amb:
sudo service mysql-server start
La primera vegada executarem aquesta ordre per a configurar el servidor de bases de dades:
sudo mysql_secure_installation
I ens donarà el següent resultat:
# mysql_secure_installation
#
NOTE: RUNNING ALL PARTS OF THIS SCRIPT IS RECOMMENDED FOR ALL MariaDB
      SERVERS IN PRODUCTION USE!  PLEASE READ EACH STEP CAREFULLY!
#
In order to log into MariaDB to secure it, we'll need the current
password for the root user. If you've just installed MariaDB, and
haven't set the root password yet, you should just press enter here.
#
Enter current password for root (enter for none):
OK, successfully used password, moving on...
#
Setting the root password or using the unix_socket ensures that nobody
can log into the MariaDB root user without the proper authorisation.
#
You already have your root account protected, so you can safely answer 'n'.
#
Switch to unix_socket authentication [Y/n] Y
Enabled successfully!
Reloading privilege tables..
 ... Success!
#
You already have your root account protected, so you can safely answer 'n'.
#
Change the root password? [Y/n] Y
New password:
Re-enter new password:
Password updated successfully!
Reloading privilege tables..
 ... Success!
#
By default, a MariaDB installation has an anonymous user, allowing anyone
to log into MariaDB without having to have a user account created for
them.  This is intended only for testing, and to make the installation
go a bit smoother.  You should remove them before moving into a
production environment.
#
Remove anonymous users? [Y/n] Y
 ... Success!
#
Normally, root should only be allowed to connect from 'localhost'.  This
ensures that someone cannot guess at the root password from the network.
#
Disallow root login remotely? [Y/n] Y
 ... Success!
#
By default, MariaDB comes with a database named 'test' that anyone can
access.  This is also intended only for testing, and should be removed
before moving into a production environment.
#
Remove test database and access to it? [Y/n] Y
 - Dropping test database...
 ... Success!
 - Removing privileges on test database...
 ... Success!
#
Reloading the privilege tables will ensure that all changes made so far
will take effect immediately.
#
Reload privilege tables now? [Y/n] Y
 ... Success!
#
Cleaning up...
#
All done!  If you've completed all of the above steps, your MariaDB
installation should now be secure.
#
Thanks for using MariaDB!
#
Ara crearem la primera base de dades:
# mysql -u root -p
Welcome to the MariaDB monitor.  Commands end with ; or \g.
Your MariaDB connection id is 13
Server version: 10.6.13-MariaDB FreeBSD Ports
#
Copyright (c) 2000, 2018, Oracle, MariaDB Corporation Ab and others.
#
Type 'help;' or '\h' for help. Type '\c' to clear the current input statement.
#
root@localhost [(none)]> CREATE DATABASE drupal1_db CHARACTER SET utf8mb4 COLLATE utf8mb4_unicode_ci;
Query OK, 1 row affected (0.001 sec)
#
root@localhost [(none)]> GRANT SELECT, INSERT, UPDATE, DELETE, CREATE, DROP, INDEX, ALTER, CREATE TEMPORARY TABLES ON drupal1_db.* TO 'usuari'@'localhost' IDENTIFIED BY 'LA_TEUA_CONTRASENYA';
Query OK, 0 rows affected (0.004 sec)
#
root@localhost [(none)]> flush privileges;
Query OK, 0 rows affected (0.002 sec)
#
root@localhost [(none)]>
INSTAL·LACIÓ DE DRUPAL 10 A LA RASPBERRY PI 4
Descarregarem Drupal des de la web oficial http://drupal.org i el descomprirem en la ruta on vullguem executar-ho de Nginx, i comencem la instal·lació com sempre.
Durant el procés d'instal·lació, Drupal vol que fem els següents passos sempre per a tenir permissos per a poder modificar certs fitxers del /sites/default:
# mkdir files
# chmod 777 files
# cp default.settings.php settings.php
# chmod 777 settings.php
En la tercera pantalla del procés d'instal·lació ens demana ficar les dades de la base de dades:

I de seguida, si has ficat correctament les dades de connexió, començarà el procés d'instal·lació de Drupal:

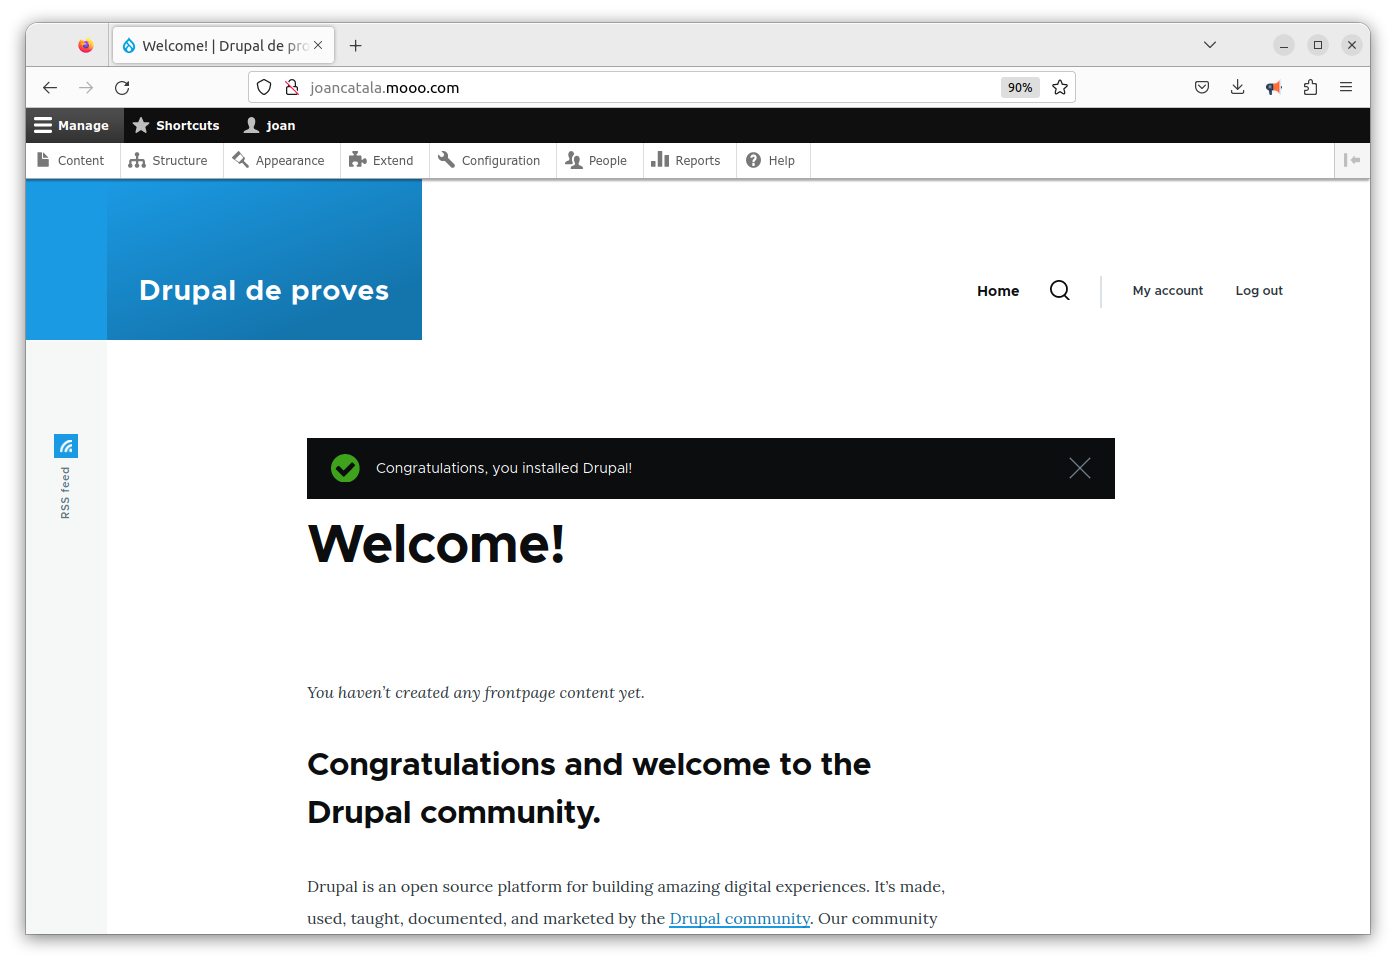
I de seguida ja tindrem el nostre Drupal 10 instal·lat a la Raspberry Pi 4. En aquest últim pas Drupal ens demana que introduïm les dades bàsiques del projecte web com el títol, el nostre correu electrònic, l'usuari administrador principal, el país i ús horari:
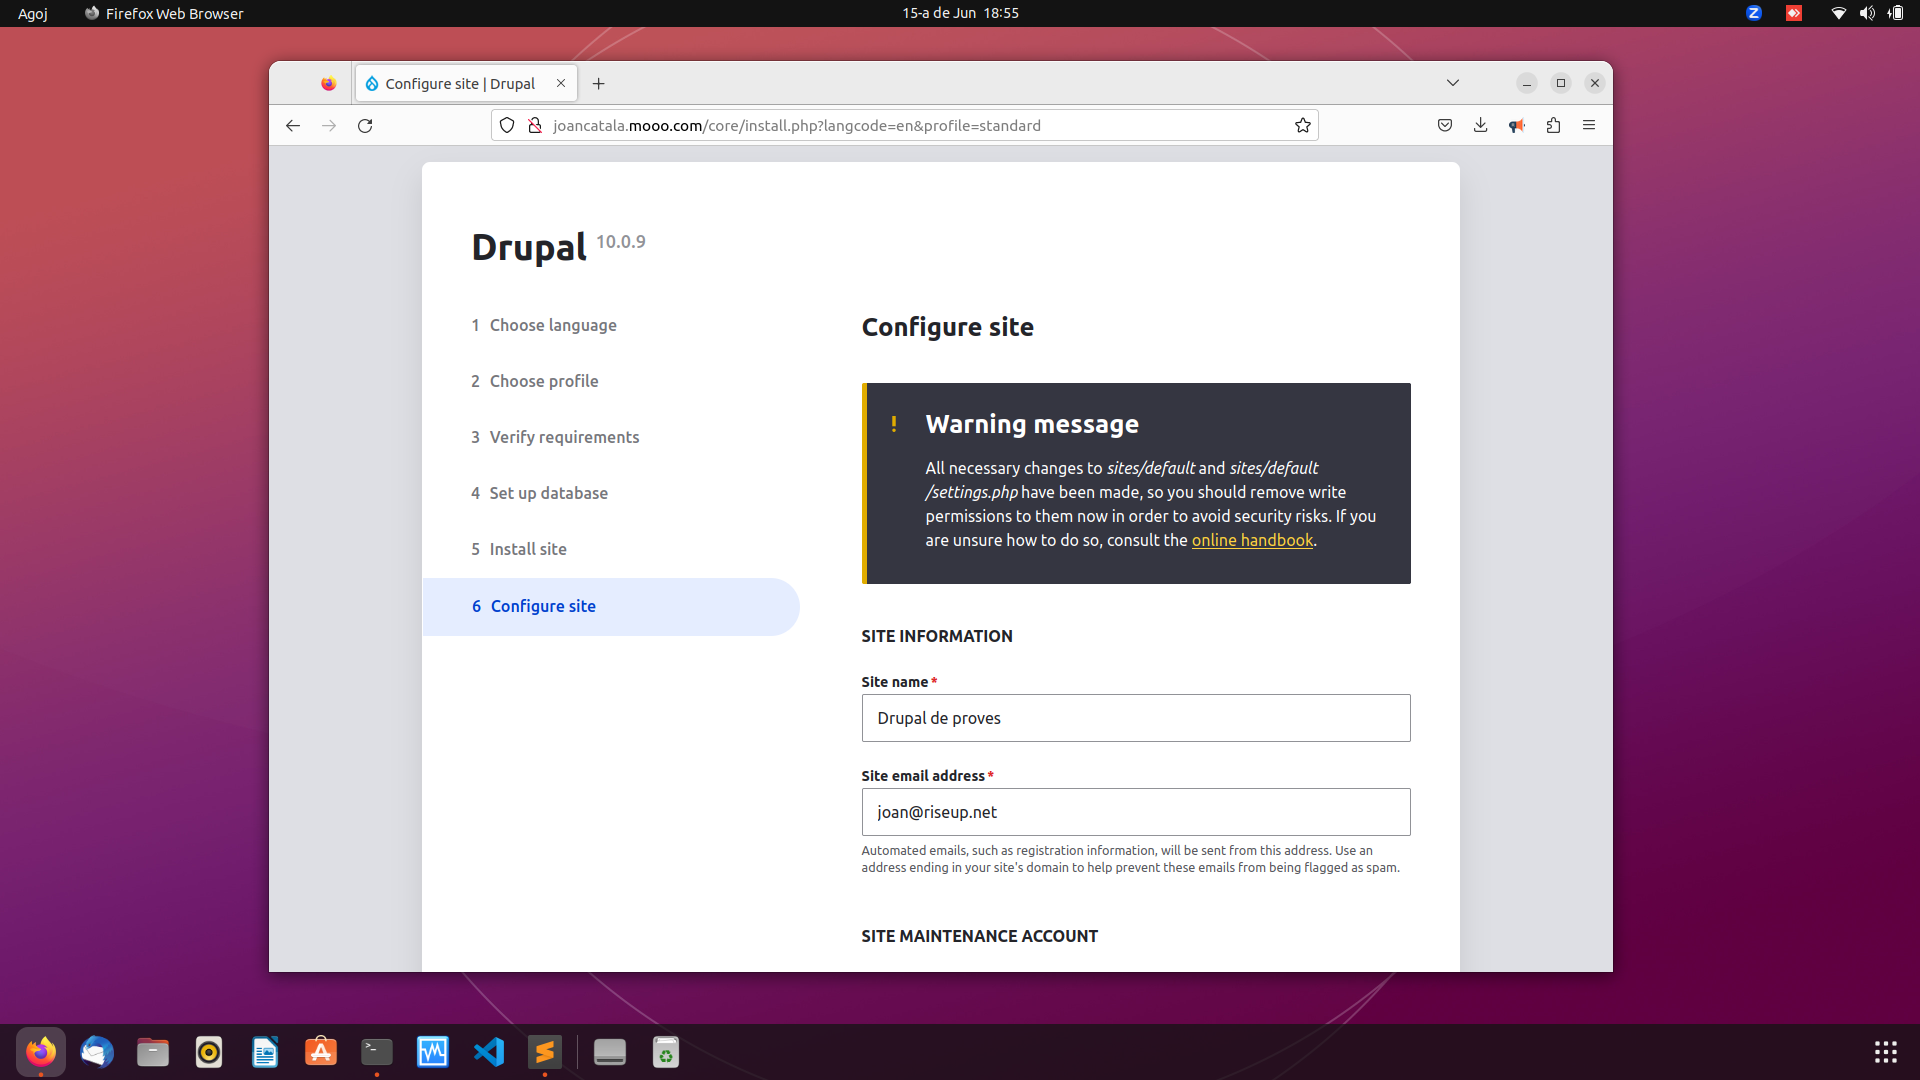
I ja tenim Drupal instal·lat i funcionant a la nostra Raspberry Pi 4 amb FreeBSD 13.2. Amunt FreeBSD! Amunt Drupal!